
Now that Funky Friends Factory has more toy patterns for “animals with whiskers,” I thought it was time to look at what different materials you can use to make whiskers on a stuffed animal!
This blog post covers LOTS of different materials you can use to add whiskers to a stuffed toy – with cute photos so you can see how they look. First we’ll go over a general method for adding whiskers, and then look at photos of the materials you can use to make them.
Let’s first take a look…
When to Add Whiskers?
I like to add the whiskers AFTER the toy is stuffed. Why? This is so that I can make sure the face is even when I am stuffing and also so I can be sure exactly where I am sewing them on! I usually hide the starting and finishing threads UNDER a felt nose or ‘pop’ my finishing knot inside the toy between the stitches of a seam.
How to add whiskers – 2 methods
💡Toy maker’s TIP💡
Test if you’ve never added whiskers before!😱
Some toys may look best without whiskers…so if you’re unsure, make sure you have a seam ripper to remove them and don’t use glue.
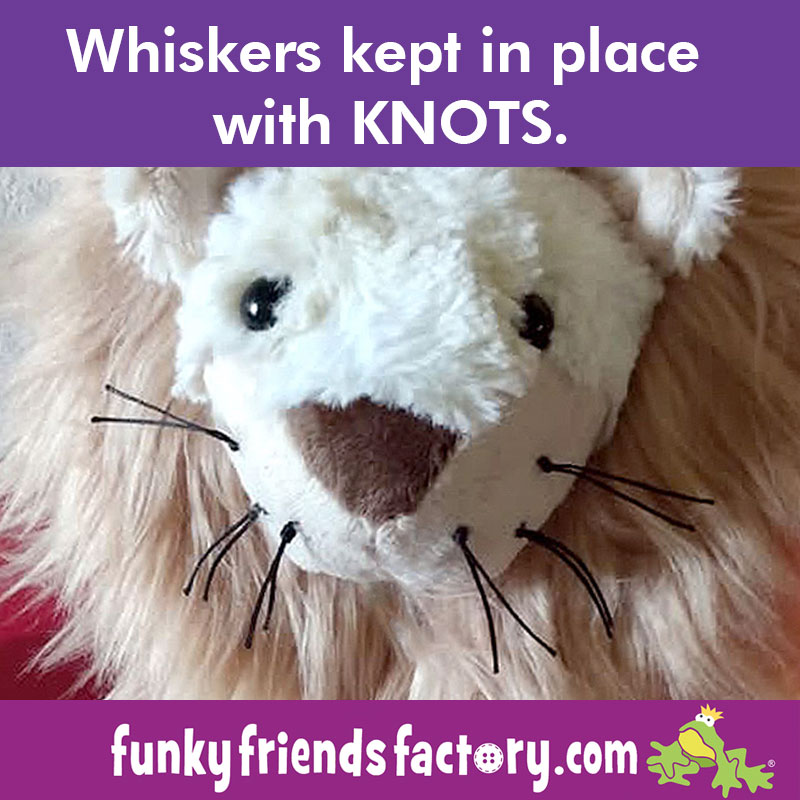
1.Basic method for knotted whiskers:
Step 1. Mark the position where you want the whisker to be.
Step 2. Thread a long needle with your chosen whisker material (Options and photos below).
Step 3. Make a tiny stitch at the whisker point and leave a long tail of thread (the desired whisker length).
Step 4. Anchor your whisker thread with a knot. (I like a simple sewn knot: Make a loop at the whisker spot by sewing a tiny stitch then push the needle through the loop and pull tight to create a knot.)
Step 5. Cut the thread the same length as the tail you started with. Ta dah! Whisker No. 1
Repeat for as many times(whiskers!) as you want!
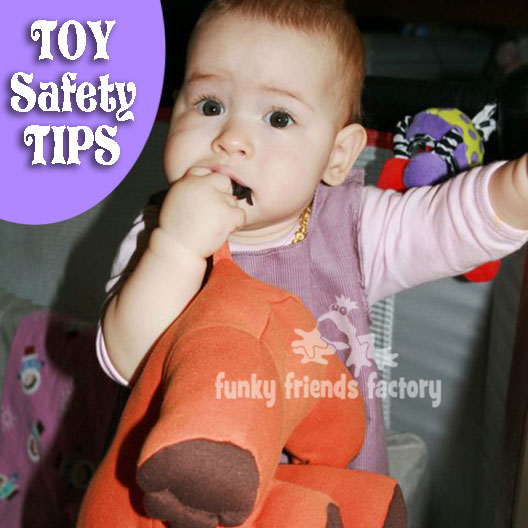
💡Toy Safety TIP💡
Are whiskers baby safe?👶🍼
Check your country’s toy safety guidelines related to the type and length of whisker material you choose. Just to be safe, don’t give toys with whiskers that protrude from the toy to children under 3 years old. Check out this blog post for more toy safety information HERE.
2. Basic method for Embroidered whiskers (long straight stitches):
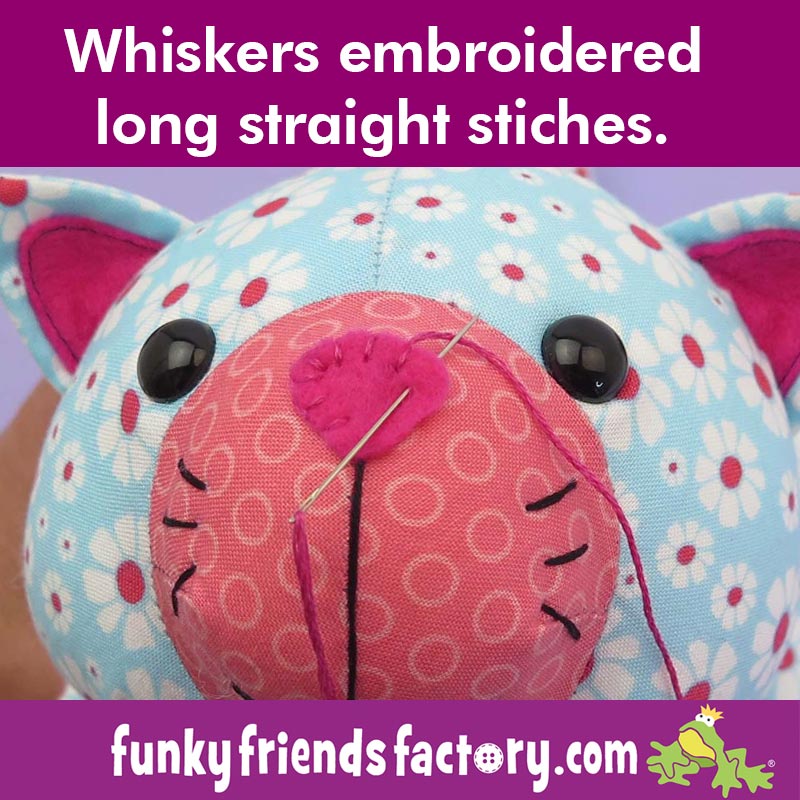
How to add embroidered whiskers
Here’s a totally different approach to whiskers and one that is baby-safe. IMPORTANT: This method can only be done once the face is firmly stuffed. This is the method I have used for my Otter Otter Pattern and Kitty Kate Cat pattern (See above!).
Step 1. Mark the position where you want the whisker to be.
Step 2. Thread a long needle with your chosen whisker material (Options and photos below).
Step 3. Hide the starting knot under the nose felt position and come out at the first whisker position. (If you can reach the whisker position through the stuffing gap BEFORE you sew the toy closed you can hide the anchoring knots ‘inside’ your toy. Use a long doll’s needle, tie a knot in your whisker thread and come in from the back to begin your first stitch).
Step 4. Sew a long straight stitch for each whisker.
Step 5. Finish with a knot hidden under the nose felt (or sewn back into the toy). Ta dah! ALL the whiskers done!
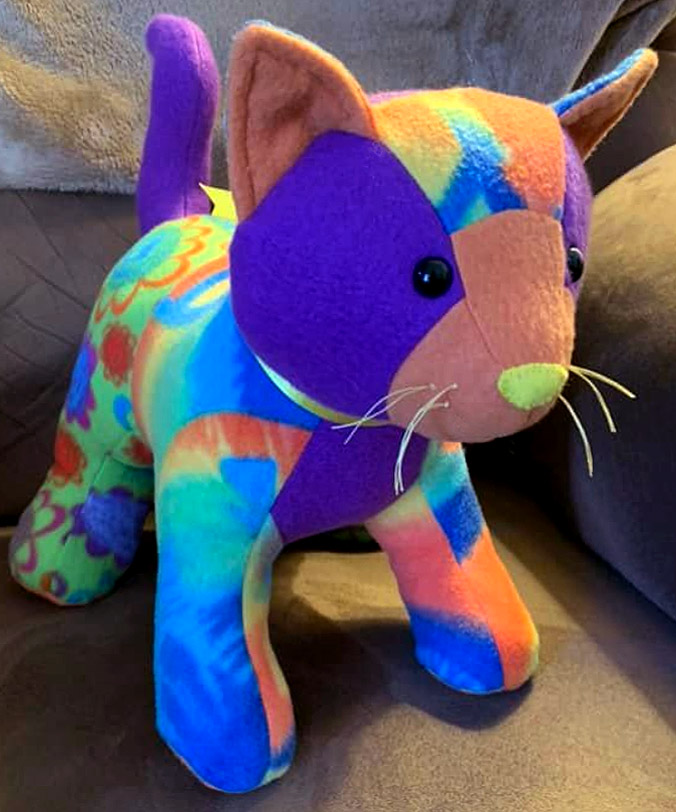
Susan Celestian sewed this keepsake Patch Pussy Cat and embroidered the whiskers with long white stitches.
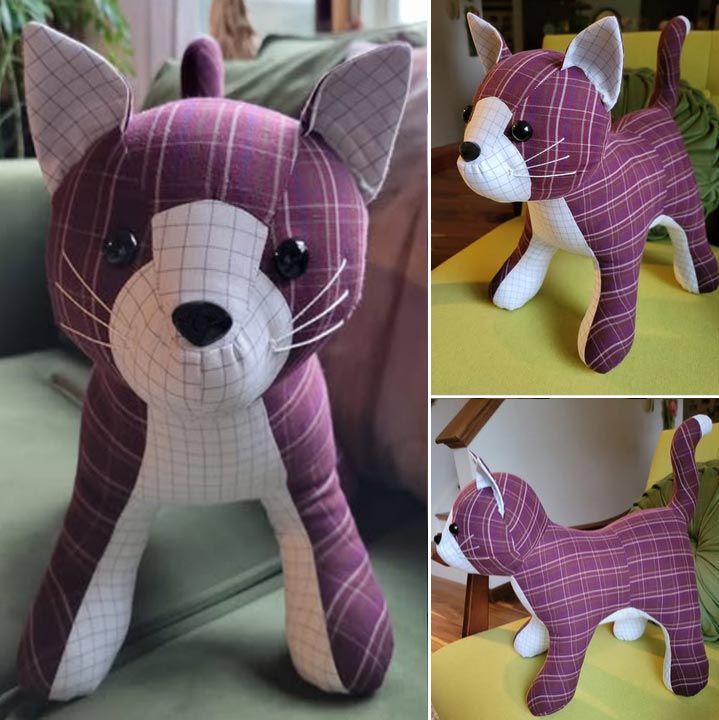
Click HERE to buy the Cat Sewing pattern.

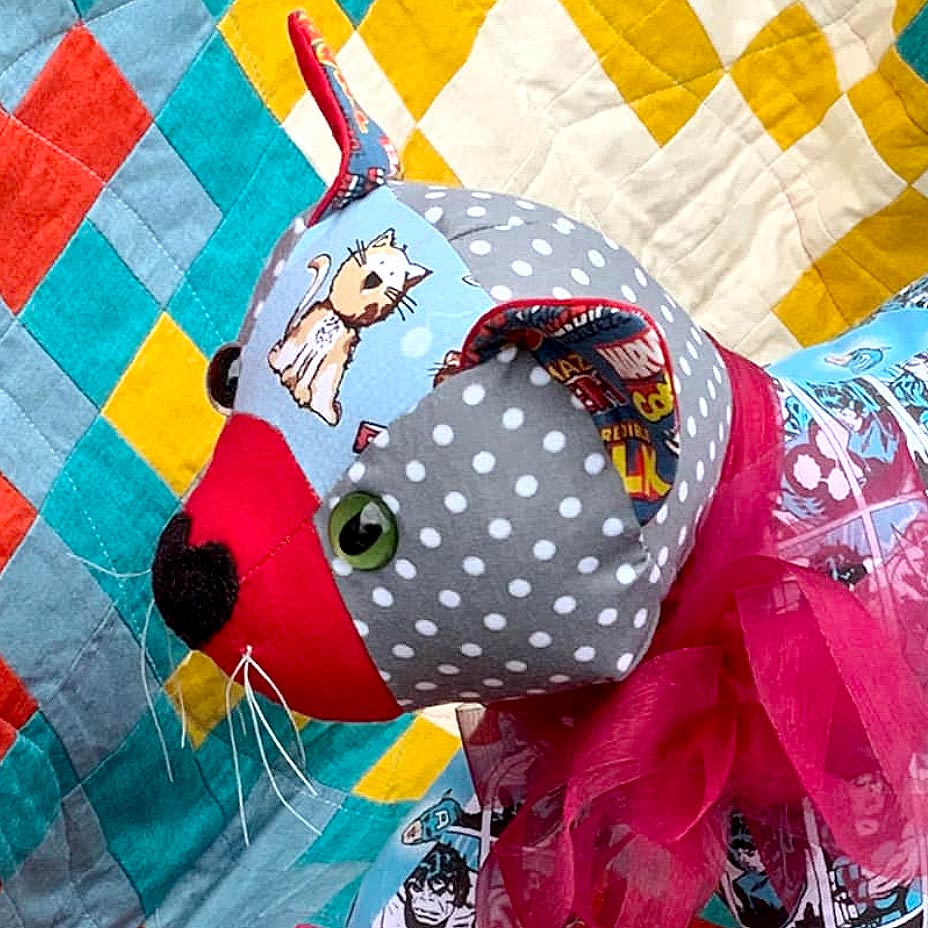
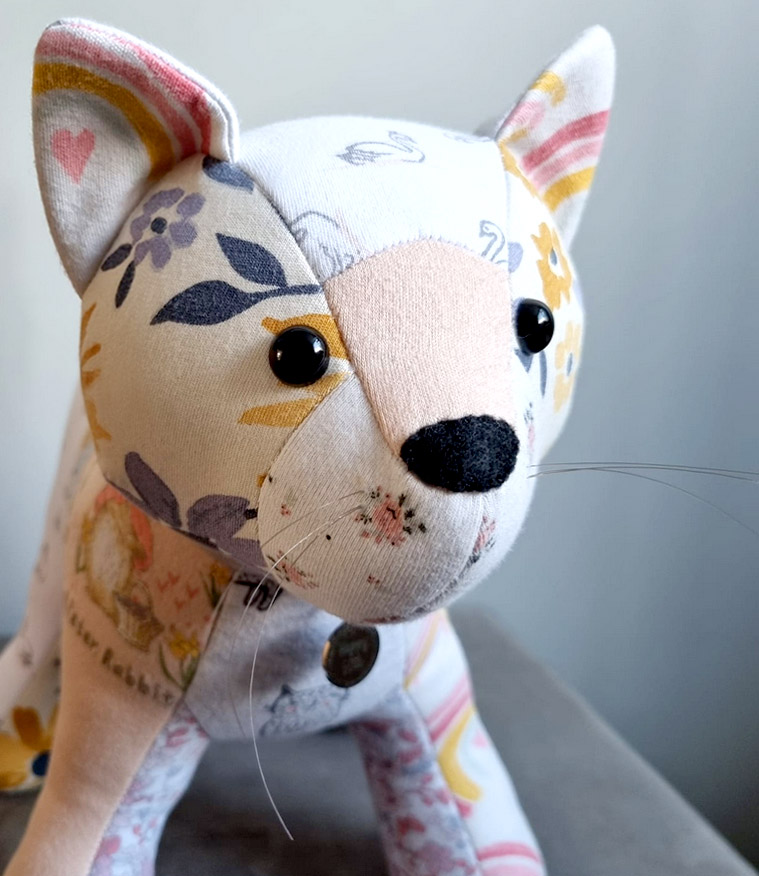
Karen Cooper used black Anchor no 8 cotton thread to embroider some lovely long whiskers on her floral Patch Pussy Cat. The eyes are embroidered too so this makes the toy baby-safe too!
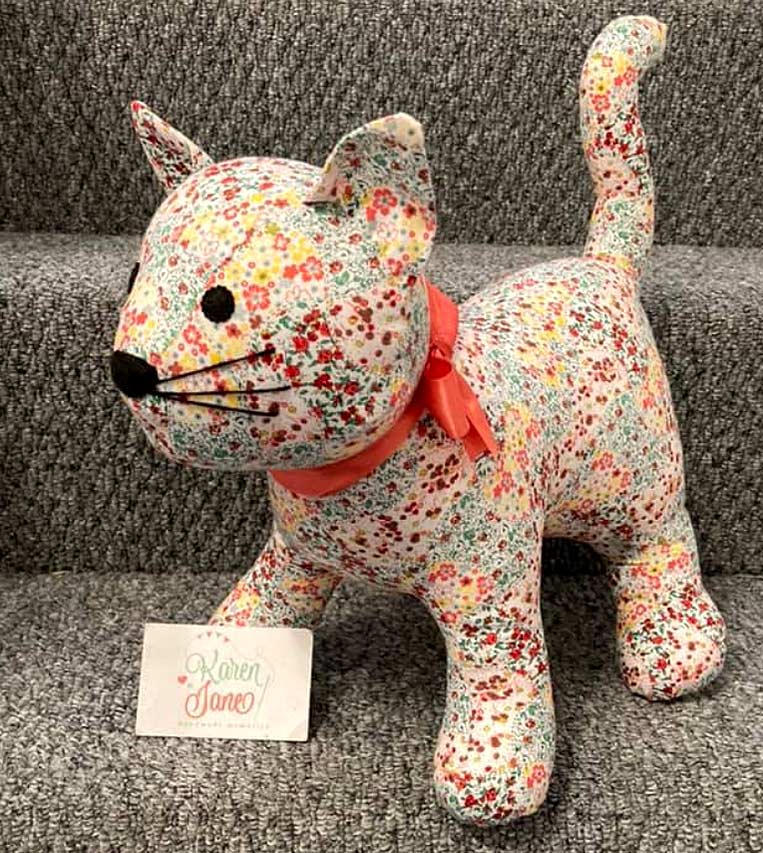
Click HERE to buy the Cat Sewing pattern.
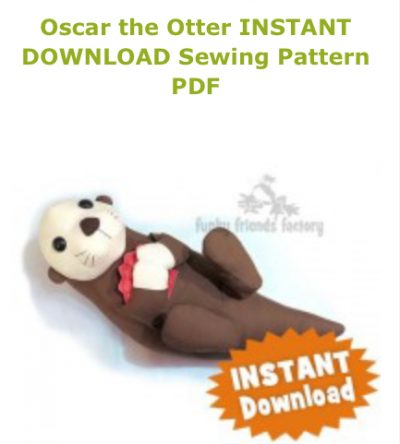
This is the method I use for Oscar the Otter. Here you can see how Nancy Goodman has added sewn the whiskers on her Oscar Otter with black embroidery thread.
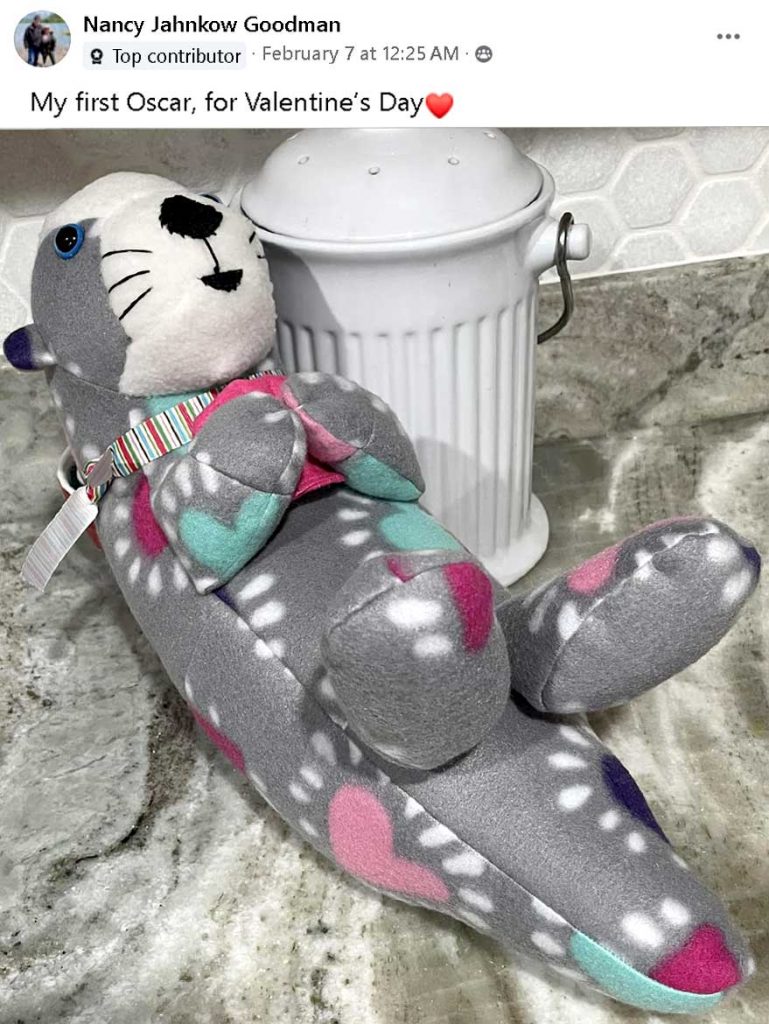
Click HERE to purchase the Otter pattern.
Now, on to the whisker materials…
Upholstery Thread whiskers:
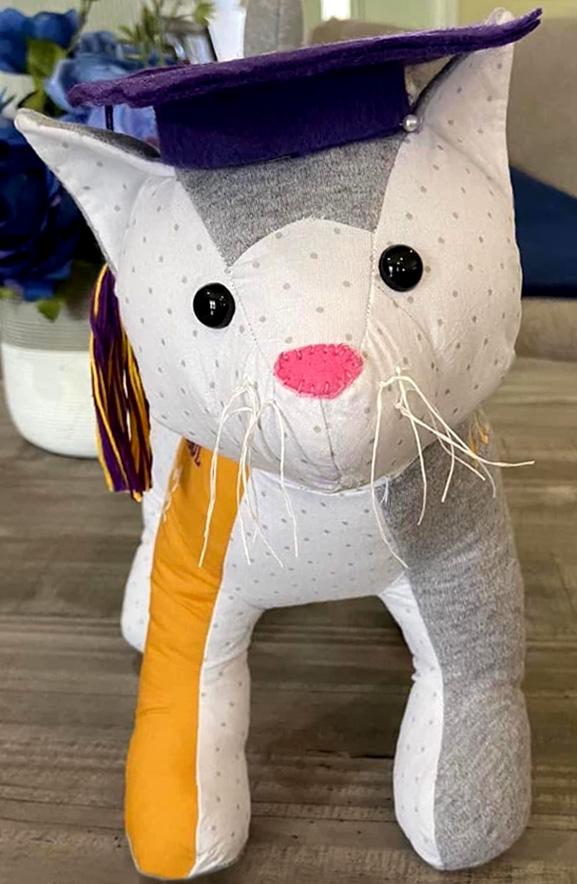
You may already have upholstery thread in your sewing room from making joints for Kelsey Keepsake Unicorn or Calico Bear! Upholstery thread is a popular choice for whiskers because it has a firm texture that makes it stand out on its own from the toy, but it’s not as scratchy as plastic options. Donna Gasparetto-Kirk used white upholstery thread for her school graduation keepsake version of Patch Pussy Cat.
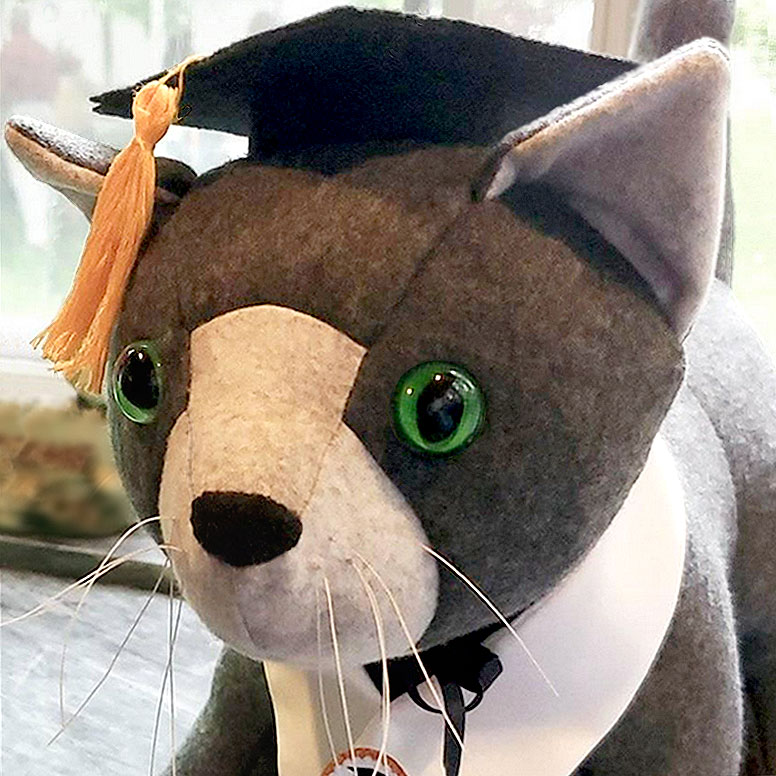
Click HERE to buy the Cat Sewing pattern.
Debbie Hendricks-Weideman used black upholstery thread for her Patch Pussy Cat made out of Shannon Cuddle Luxe Artic Lynx fabric. Upholstery thread usually comes in whisker-friendly colors like white, tan, brown, and black.
Click HERE to buy the Cat Sewing pattern.
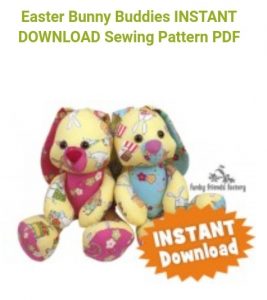
Melissa Bryden used thick upholstery thread for her cute Easter Bunny Buddy and I love the heart shaped button she added!

Click HERE to buy the Easter Bunny sewing pattern.
Embroidery Thread whiskers:
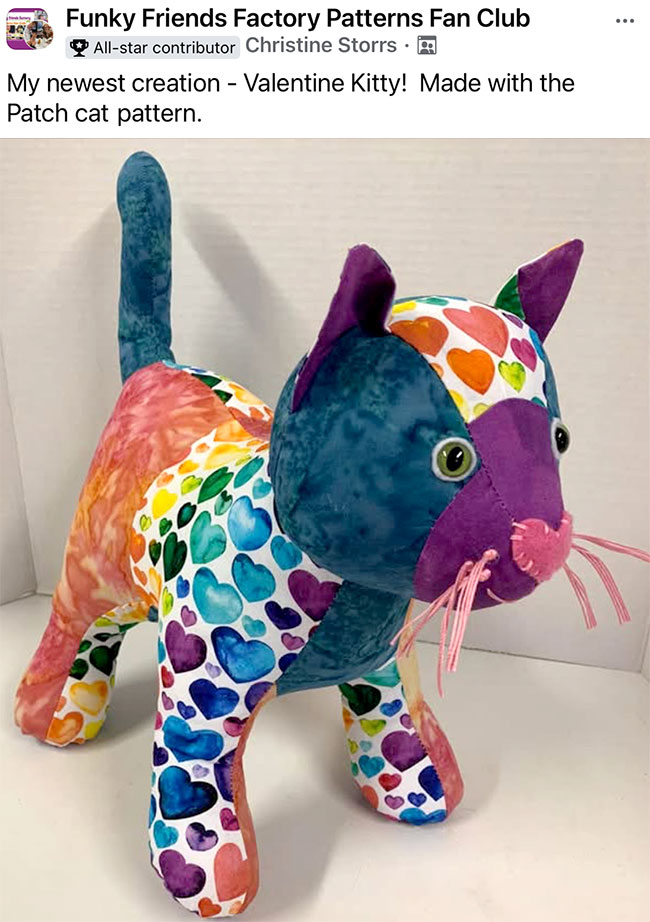
Embroidery thread comes in so many colours you can match it to any fabric! It’s softer than upholstery thread and comes in different thicknesses, which are called weights. Christine Storrs use matching yellow embroidery thread for her Patch Pussy Cat.
Click HERE to buy the Cat Sewing pattern.
💡Toy maker’s TIP💡
How to fix floppy whiskers!😱
Audrey Gorvett used strong thread for the whiskers on her Patch Pussy Cat and added some fray check (fray stop) to slightly stiffen them.
Crochet Thread whiskers
Crochet thread, like embroidery floss, comes in different weights and a rainbow of colors. A single strand of standard crochet thread is usually thicker than the most commonly available embroidery floss, so crochet thread will be a good option if you want thicker whiskers. Jonell Hart used cotton crochet thread for the whiskers on this school leavers keepsake Patch Pussy Cat.
Click HERE to buy the Cat Sewing pattern.
As mentioned earlier, crochet thread comes in different weights. The higher the weight number, the thinner the crochet thread. To give you an example of a particular crochet thread weight in use, Christine Storrs used #10 crochet cotton for this beautifully colour coordinated Patch Pussy Cat.
Click HERE to buy the Cat Sewing pattern.
Nylon thread
Nylon thread is a realistic but scratchier option for whiskers than those listed above, so it’s best not to use it for children with sensory aversions to anything “spikey.” James Kemp sewed this precious pet keepsake from a beloved pet’s bedding when it passed. The whiskers were made with a thick black nylon thread.

Click HERE to buy the Cat Sewing pattern.
Waxed Thread
Just like the name suggests, waxed thread comes already covered in a wax coating to make it firmer than regular thread. This is a specialty item that can be ordered from or purchased at Teddy bear supply stores. Lynn Vanderheiden-Antle used waxed thread to add some cute chunky black whiskers to her fluffy version of Larry Lion.

Click HERE to buy the Lion pattern.

Horse Hair
You may have touched horse hair before on the bow for a violin or cello. It has a slightly scratchy texture that grips the strings on a musical instrument. To find horse hair for use in making toys, you’ll need to contact a Mohair bear or teddy bear making supplies store. Alison Rudd sewed this adorable Maximus Mouse and added some whiskers using horse hair.
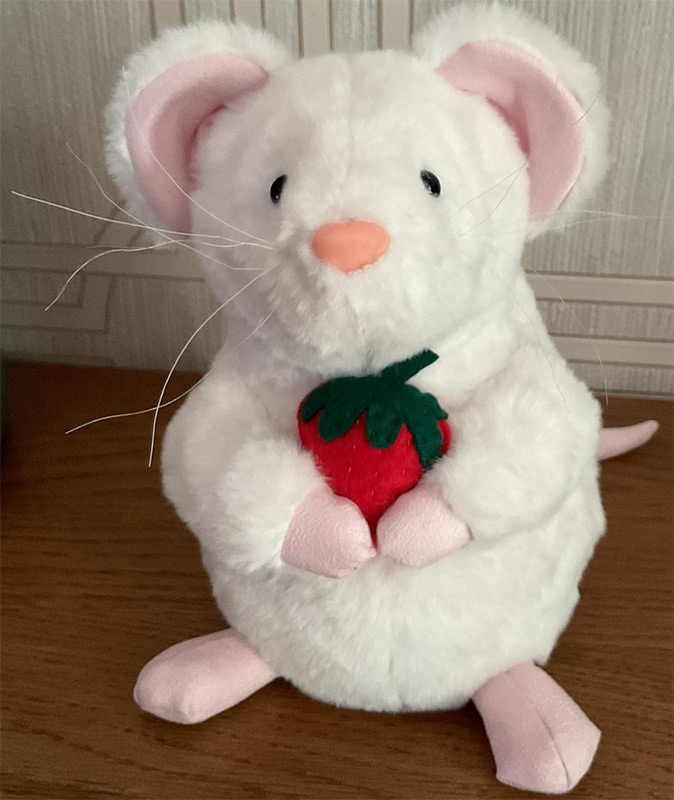
Click HERE to buy the Mouse pattern.

Fishing line
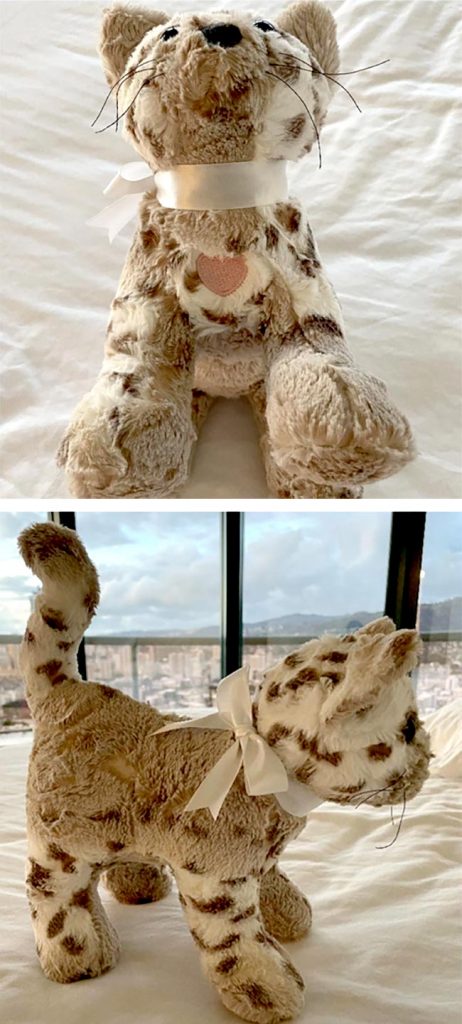
Fishing line is a widely available and realistic-looking option for whiskers. Chris Fowler used clear (see through) nylon fishing line to add these ‘almost real’ whiskers to this VERY fluffy, fake fur version of Patch Pussy Cat.
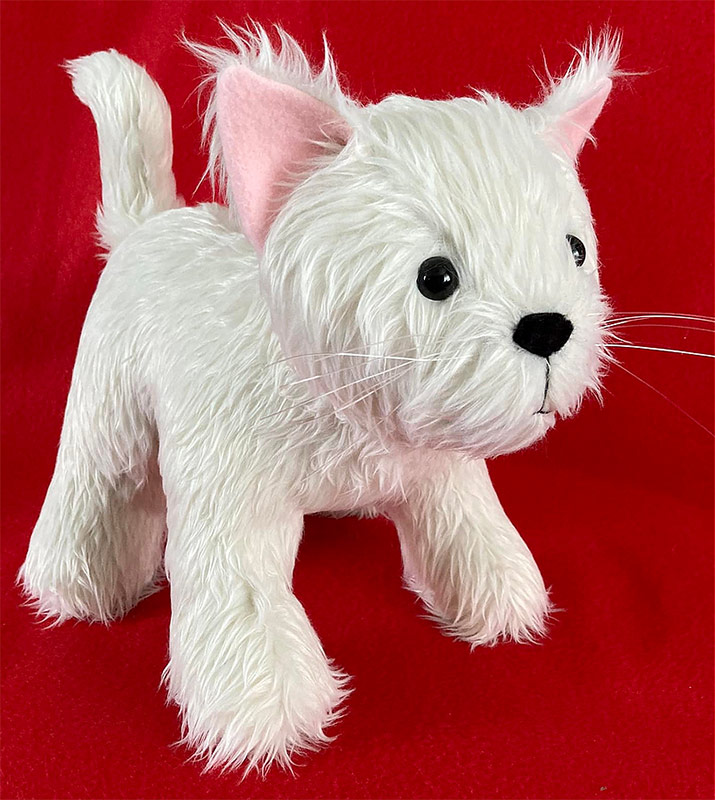
Click HERE to buy the Cat Sewing pattern.
Jo Ann Carroll used black fishing line for the whiskers on her beautiful blue digital cuddle Patch Pussy Cat.
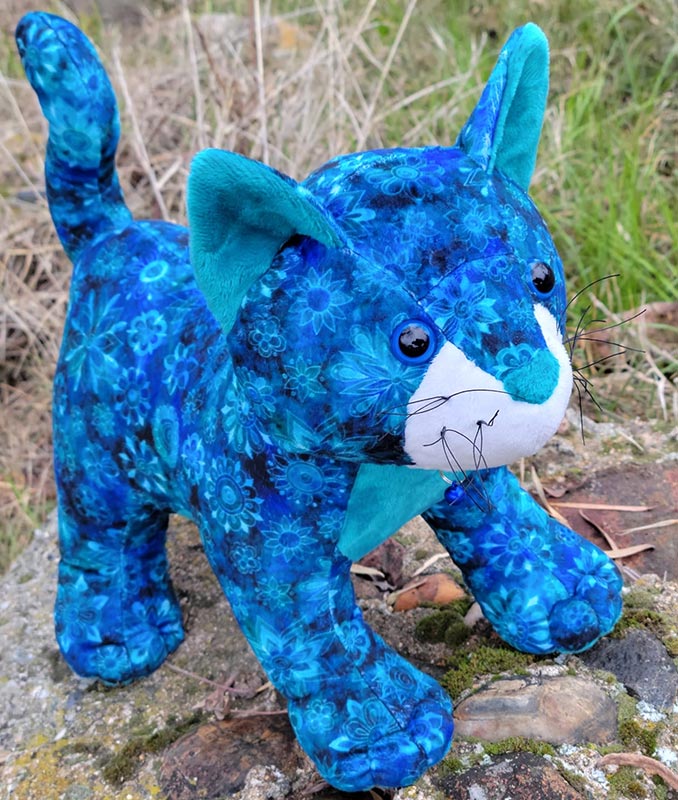
Click HERE to buy the Cat Sewing pattern.
💡Toy maker’s TIP💡
Extra secure whiskers!👍
Liz Gregory used VERY FINE grey fishing line for the whiskers on her cute keepsake Patch Pussy Cat . She added a tiny dot of glue on the entry/exit points of each whisker help hold them in place.
Lindsey Mortimer used white fishing line for the whiskers on her beautiful, realistic Patch Pussy Cat that she sewed as a precious pet replica. I had to agree with the comments that I think this is one of the MOST REALISTIC Funky Friends toys I’ve seen to date!😻
Click HERE to buy the Cat Sewing pattern.
Paint brush bristles
Sara Summers Cruce Walston used Bobbi Jackson‘s tip posted in our Pattern Fan Club Group (I have pasted this tip below Sara’s cat photo) and used paint brush bristles to add whiskers to her Patch Pussy Cat.
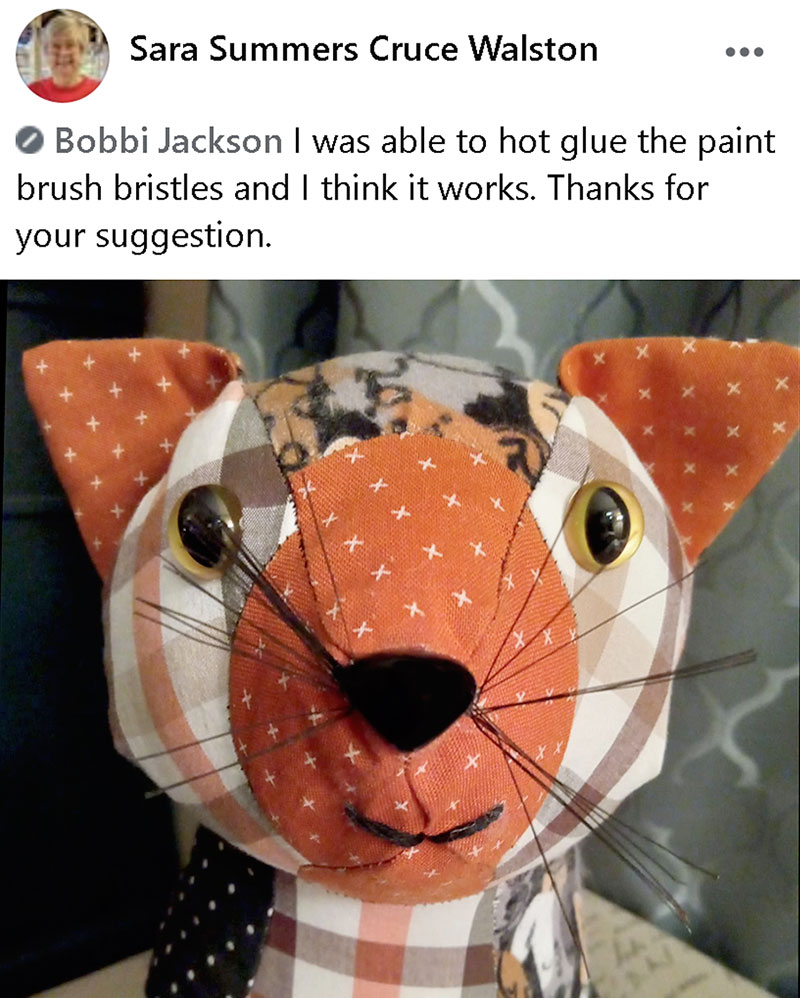
Click HERE to buy the Cat Sewing pattern.
💡Toy maker’s TIP💡
Use a dab of glue🖌️
Bobbi Jackson says that she dabs a bit of hot glue on the end of each bristle then pops it through the fabric.
Fussy cutting fabric prints
Sometimes you may get lucky and have fabric that has perfect lines on it to use for whiskers. Position your pattern pieces to take advantage of these designs like Rae Pajkos Waters did here on an Easter Bunny Buddy.
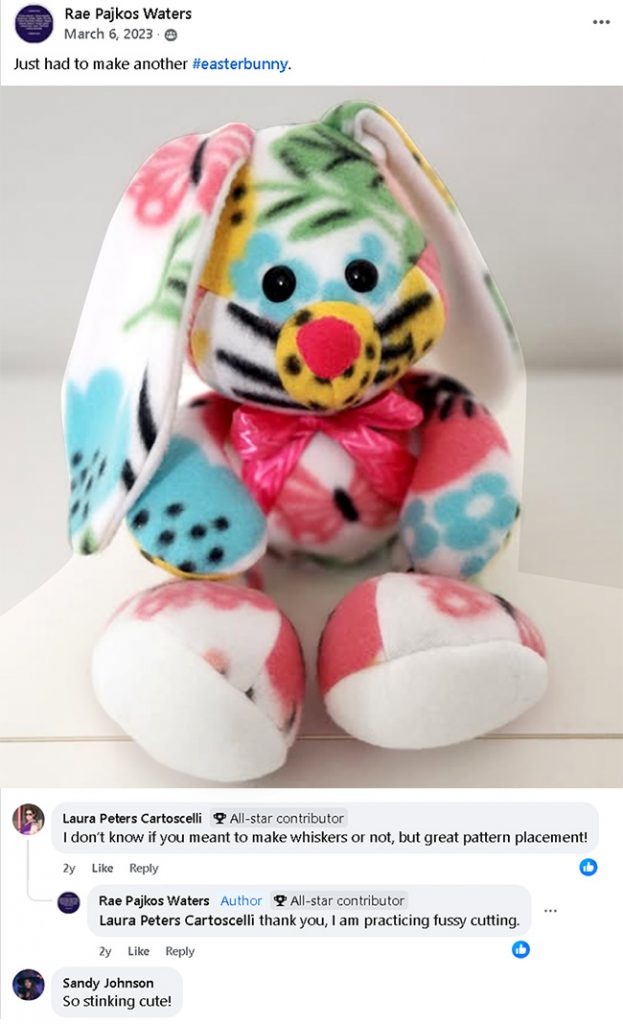
Click HERE to buy the Easter Bunny sewing pattern.
Have YOU done whiskers?
Have you got a method we haven’t mentioned – leave a comment to tell us how you have done whiskers on a soft toy!
 .
.
I’d love to know how you made your toy whiskers!
Happy Sewing,
Pauline
xxx
![]()

I use a “tag” tool used for garment tags. I shoot them in and clip the end 🥰
It’s very easy & super satisfying.
ooh – that’s a great idea, Nancy! I wonder where you’d buy one of those?!☺️
I love all the great ideas and examples. Thank you so much for sharing.
Great suggestions for a variety of materials to use. Which knots have been used when securing the nylon, fishing line or other materials that are not thread? I tried to use fishing line once but couldn’t get a knot to set, so they just pulled out.