See me sew Ellie Elephant!
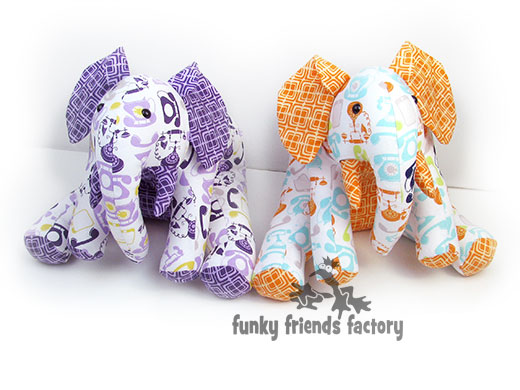
I made this photo tutorial so you can see how to sew my Elephant Sewing Pattern design. Once you have made your first Elephant softie, it's such fun you'll want to make a whole herd of elephant toys!
*** PLEASE NOTE - this in ONLY a PHOTO TUTORIAL ***
I have made this photo tutorial so people who have purchased the pattern can SEE how to sew a toy elephant! (I wanted to explain this so you are not disappointed if you have found this page via a search engine and not from the link in my elephant sewing pattern!)
The FULL PATTERN IS NOT included here. It is also NOT A FREE PATTERN.* The Ellie Elephant Toy Pattern is available to buy, from the Funky Friends Factory website as an Instant Download e-Pattern.
Right, let's sew an Ellie!
WE'LL START WITH THE EARS:
STEP 1
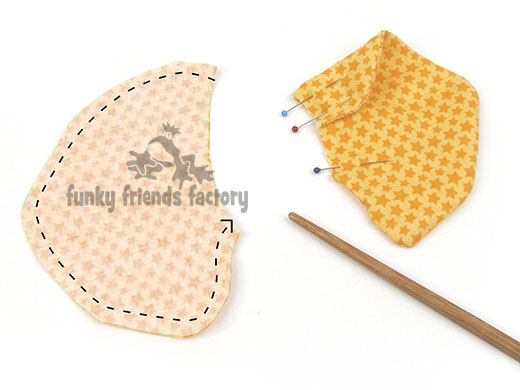
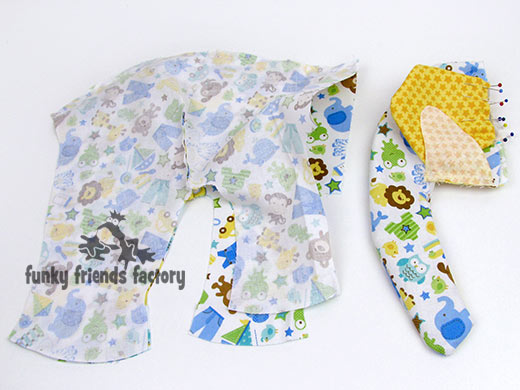
Sew the EAR PIECES together in pairs and turn them right sides out. Fold the top of each ear down as shown by the pattern markings and pin and tack (baste) the fold down so it won’t slip as you sew the EARS in place.
Next we do the HEAD & EYES:
STEP 2
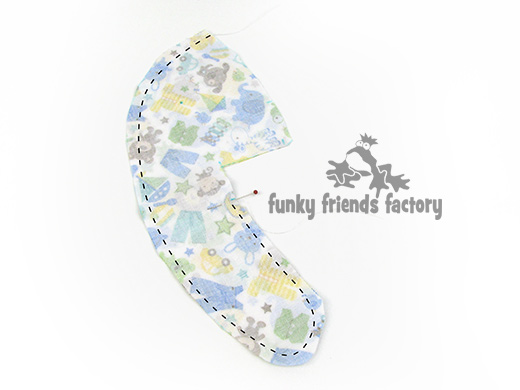
Sew the HEAD PIECES together from A – B.
STEP 3
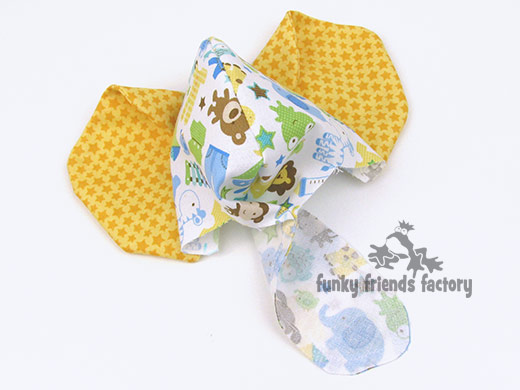
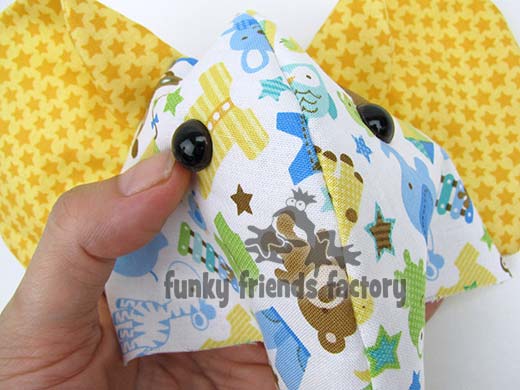
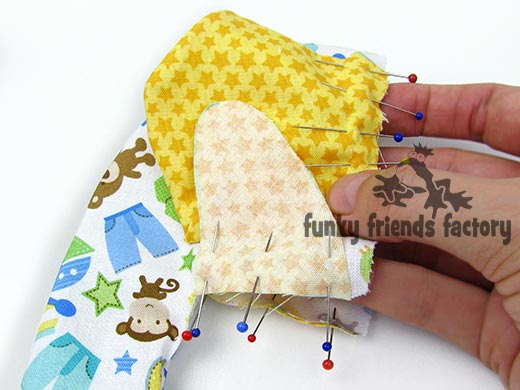
Pin and tack (baste) the EARS in place between the pattern markings on the HEAD PIECES, make sure that the fold of the EAR is touching the HEAD PIECE as you pin it in position.
STEP 4
Pin the bottom of the EAR PIECES out of the way so they won’t get stuck in the seams as you sew your Ellie together.
STEP 5
If you are using craft eyes, insert them now.
* I have a photo tutorial to show you how to insert craft eyes on my blog.
STEP 6
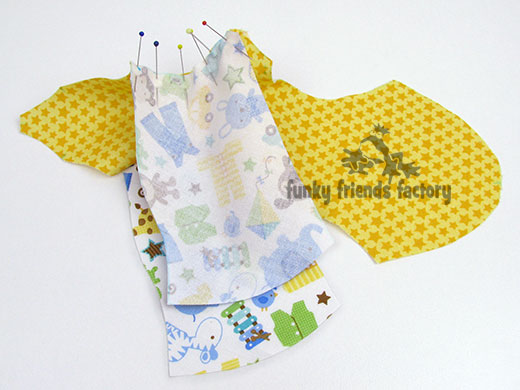
Sew 2 of the TUSK PIECES to the HEAD PIECES.
Next we sew the BODY:
STEP 7
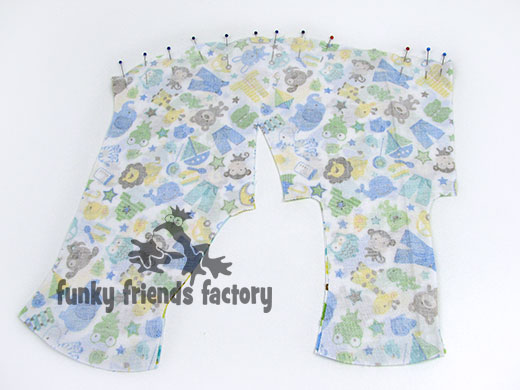
Sew the BODY PIECES together along the back from A – F, leaving a gap for stuffing. (which we do later, of course!)
STEP 8
Fold the fabric (right side together) and sew the darts in the BODY PIECES.
STEP 9a
Turn the head right side out.
STEP 9b
Pin and sew the HEAD PIECES to the BODY PIECES from C – A – C.
TIP: I find the best way to do this is to place the head, between the BODY PIECES, so it is facing back into the body then pin it in position.
CHEST, TUMMY & TUSKS:
STEP 10
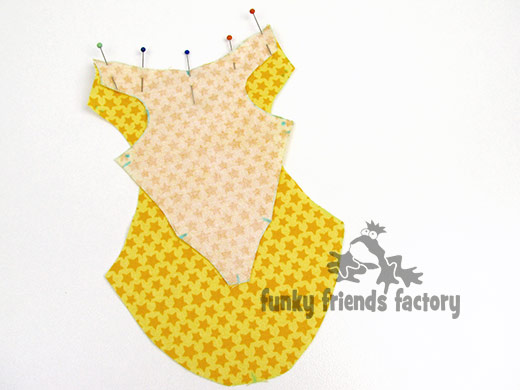
Sew the CHEST PIECE to the TUMMY PIECE from D – E.
STEP 11
Matching the single dot of the pattern markings, sew the FRONT LEG PIECES to the CHEST PIECE.
STEP 12
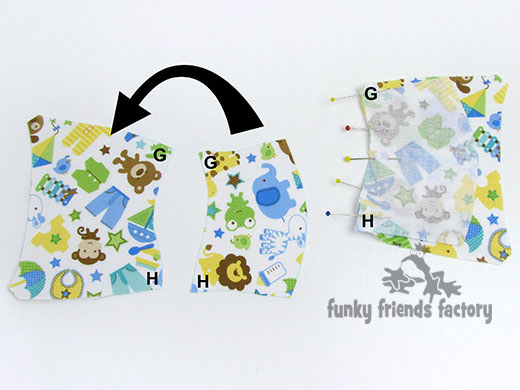
Sew the BACK LEG 1 PIECES to the BACK LEG 2 PIECES, in pairs, from G – H.
STEP 13
Matching the double dots of the pattern markings, sew the BACK LEG 1 PIECES to the TUMMY PIECE.
STEP 14
Sew the other 2 TUSK PIECES to the CHEST PIECE matching the pattern markings.
STEP 15a
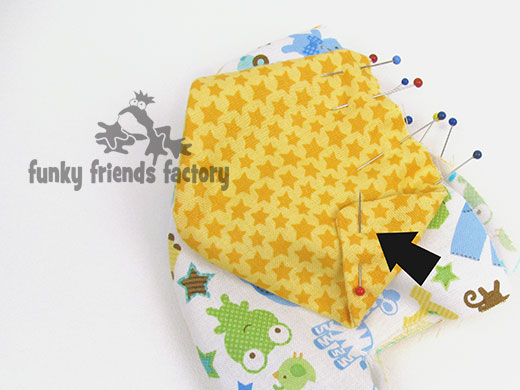
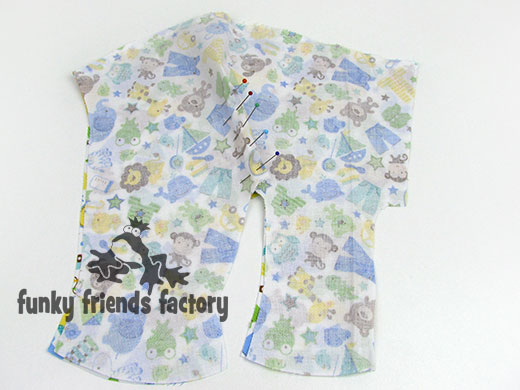
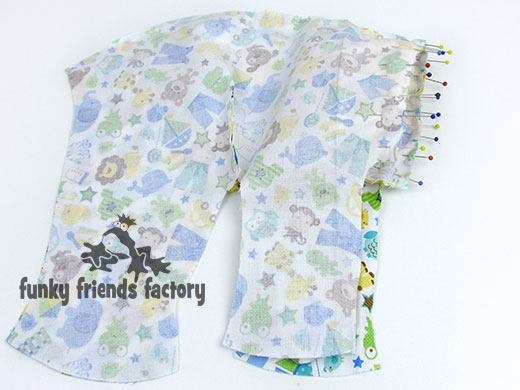
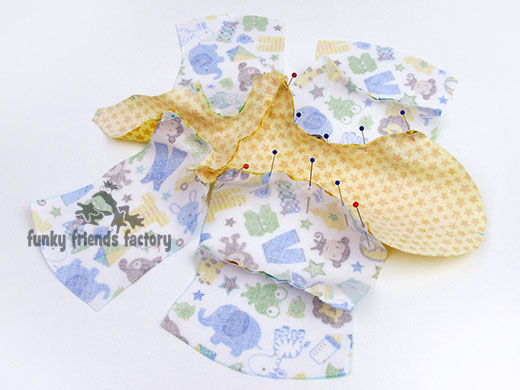
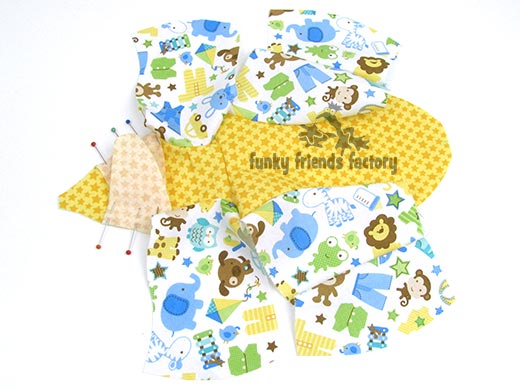
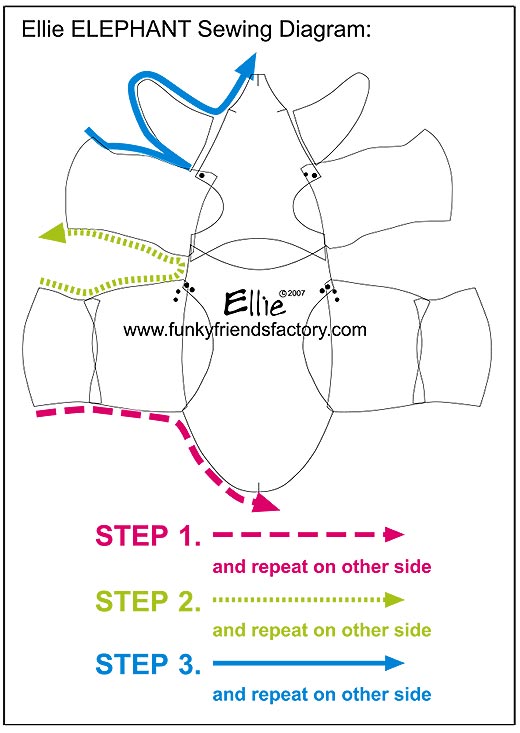
Pin the CHEST & TUMMY & LEG PIECES to the HEAD & BODY PIECES, take your time and use LOTS of pins! Sew the elephant together in 3 steps - using the SEWING DIGRAM to guide you.
STEP 15b
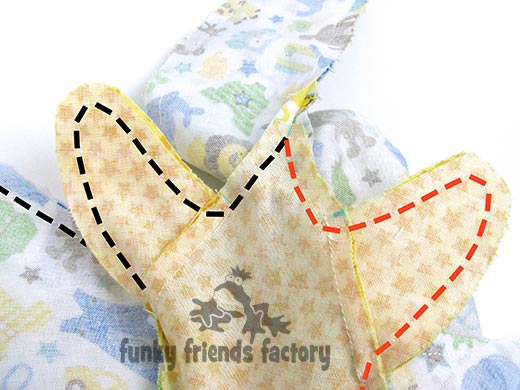
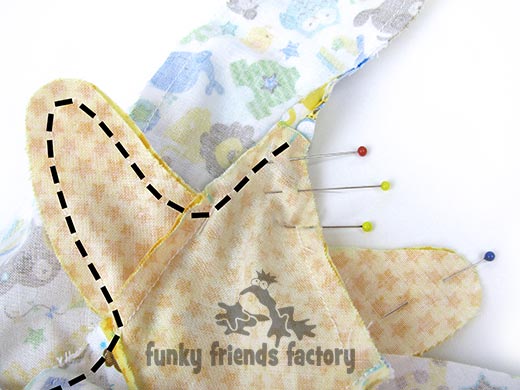
This is a close-up photo for you to see how to get a nice neat finish under your Ellie Elephant's trunk, where the seams meet at B.
Sew one side at a time. When you sew the first side (The BLACK dashed line in the photo below) stop about 5mm/¼inch from the front of the CHEST PIECE at B.
STEP 15c
When you sew the other side, finish your stitching at the same point. (The RED dashed line in the photo below.)This way all the seams match up at point B under the trunk!
TIP: If you are using white fabric for the TUSKS, sew the tusks together with WHITE thread even if it means changing thread!
FRONT and BACK FOOTPADS:
STEP 16
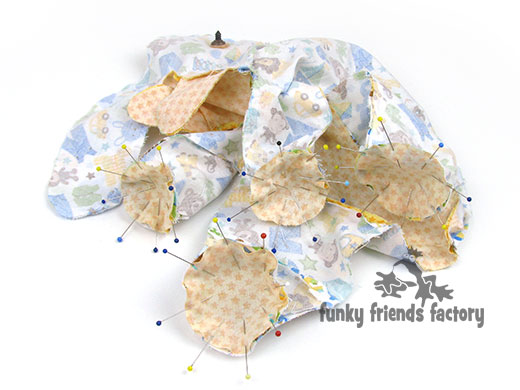
Pin and sew the FRONT FOOT PADS to the bottom of the front legs and the BACK FOOT PAD PIECES to the bottom of the back legs.
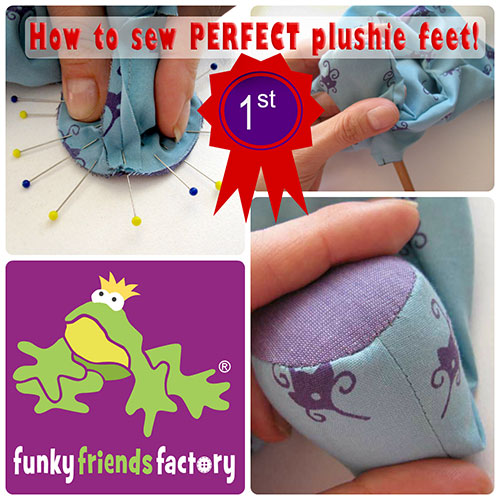
TIP: I have a photo tutorial on my blog with step-by-step photos to show you how to make perfect feet! /blog/put-your-best-foot-forward-how-to-sew-perfect-plushie-feet/
ASSEMBLING ELLIE ELEPHANT:
STEP 17
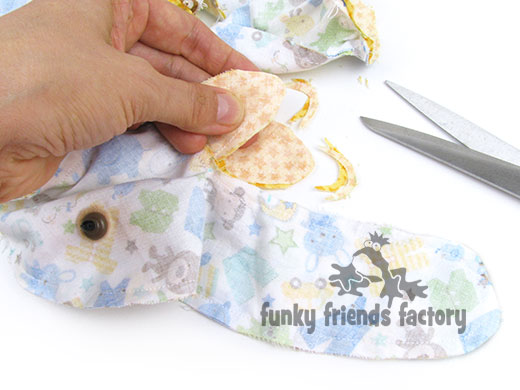
Trim the extra fabric off the ends of the TUSKS PIECES, clips all the seams well, especially the curved bits then turn your elephant right sides out.
STEP 18
Stuff the tusks and trunk first then the head area. Stuff the front and back legs, then fill the rest of the body with toy stuffing. If you are using beads or buttons for Ellie’s eyes, sew them on now.
TIP: A paintbrush is a great tool to use when you are stuffing small parts of a softie. Use very small bits of toy stuffing and use the paintbrush to push them firmly into the tusks!
STEP 19
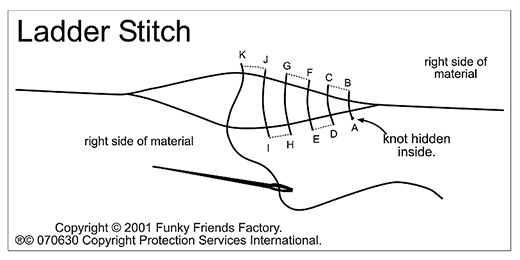
Sew the the stuffing opening on your elephant’s back closed using a ladder stitch.
Your Ellie ELEPHANT stuffed toy is ready to LOVE!
PS:
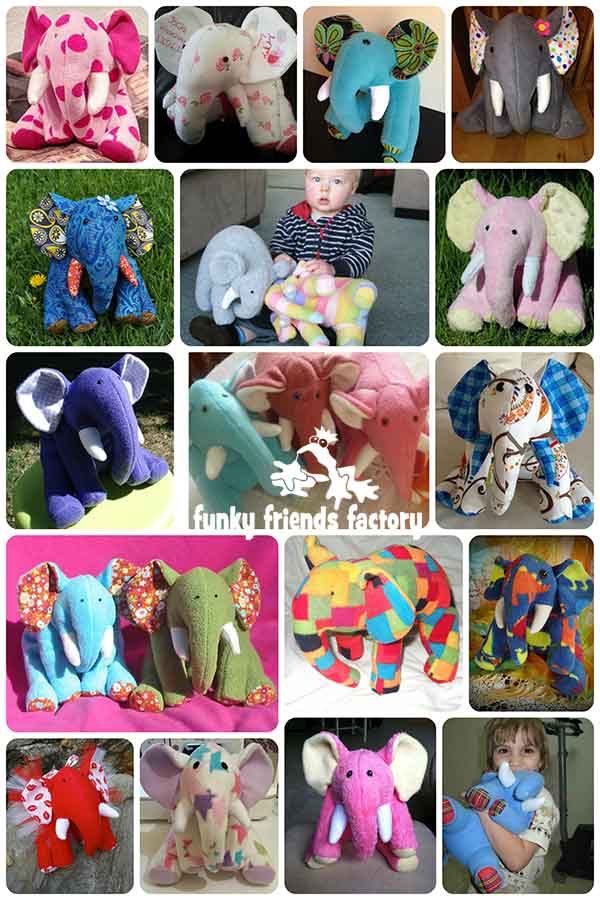
Ellie ELEPHANT looks fabulous in all sorts of colours and fabrics! Here are some fabulous customer feedback photos of Elephant softies other people have made! :)
I can't wait to see
YOUR
Ellie Elephant...
I LOVE to see how your Funky Friends Factory toys turn out!
When you've made your own elephant softie - please come and paste a photo of your NEW Funky Friend on my Funky Friends Factory Facebook page for me to see!
You could win a FREE PATTERN
in the MAKE MY MONDAY Pattern Giveaway!
Till next time,
Happy Sewing,
Pauline
xxx


